HOUDINI - PYRO SIMULATION (FLAMES)
INTRODUCTION
In this module, we are going to discuss how to create basic flames (or fire), and how we can modify the setup to create an explosion effect.
HOUDINI SETUP
The most important attributes responsible for simulating flames are 'fuel' and 'temperature'.
We are going to create the basic pyro setup like we learnt in the previous pyro module.
In this case, we are going to choose 'source fuel' on the pyro source, and this will create both fuel and temperature attributes for us.
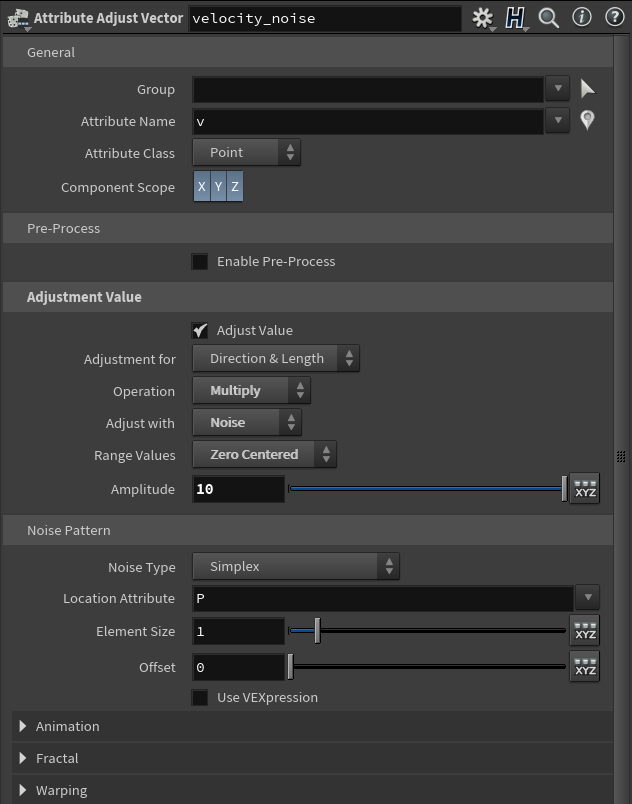
In the basic setup, we have already connected the noise attributes, and we included a 'attribute adjust vector' node to create velocity noise, since velocity is a vector quantity.

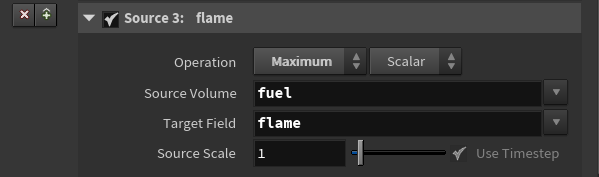
Right now, if we play the simulation, we won't see anything in the viewport. This is because under the pyro solver sourcing, the source volume name is "burn" instead of "fuel" which was what we originally added. So when we change this to "fuel" instead, and we will now see the flames.


We see that right now, we don't see any smokes. If we want the flames to emit smokes, we will need to add the 'density' attribute on the pyro source. We will also need to rasterize this attribute on the VRA node.


Now we will see the smokes emitting from the flames.

We can fine tune the look of the flame under the pyro solver shape tab like we learnt in the last module.
Let's turn off the density for now so that we can see the various ways we can improve the look of the flames.
Let's set max substeps to 2 to make the flame simulation smoother. Under the shape tab, let's enable 'shredding'.
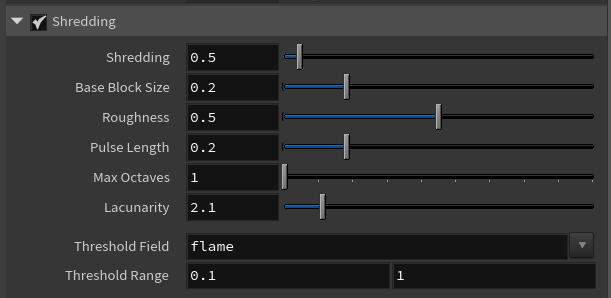
Shredding is used to add higher frequency details to the flame. It can also help to break up some undesirable smooth features in the smoke.
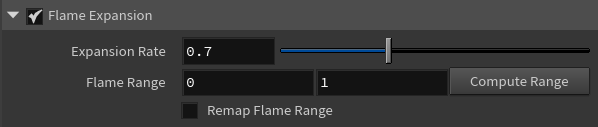
If we also enable 'Flame Expansion', this will make our flame to expand as it's name suggests.
We can control the lifespan of the flames under the 'fields' tab, 'flames' attribute.

If we choose not to use a density attribute, we can still emit the smokes by enabling 'emit from flame' as shown above. We can increase the amount of smoke emitted by increasing the emission scale.
Play around with all these settings to get different results for your flames.

With the attribute adjust vector, we can introduce some noise into the simulation to add some more effects. We have to make sure a 'velocity' attribute is added to the pyro source and it is rasterized on the VRA node.
If we add a pyro bake volume node, we can really do a lot of interesting things with the look of the flames.


LET'S CREATE AN EXPLOSION!
Now we are going to dive into more fun stuff. We will create an explosion effect in this section.
EXPLOSION SOURCE
Let us start by creating an empty geometry node named "explosion" and dive into it's SOP level.
Next, we will create a 'add' node which is going to add a point for us in the viewport. If we click on the '+' button, we will add 1 point to the viewport. This single point will serve as the emission point of the explosion.

Next, let us add a pyro burst source node. This node creates a basic explosion shape for us. In the guide display 'quick setups', let's choose 'pyro simulation' to automatically setup the nodes for us.

If we playback the simulation, we will see an explosion burst. All we have to do from this point on is to modify the various parameters and settings of the explosion to get a much improved result.
NOTE: We can also use this pyro burst source node to simulate effects like dust or giant storms, or tornado etc.
The first thing we notice is that the smokes emitted dies off too quickly. We want the smokes to still remain after the explosion happens. So let's decrease the dissipation of the smoke under the 'density' tab of the fields subtab to about 0.02.

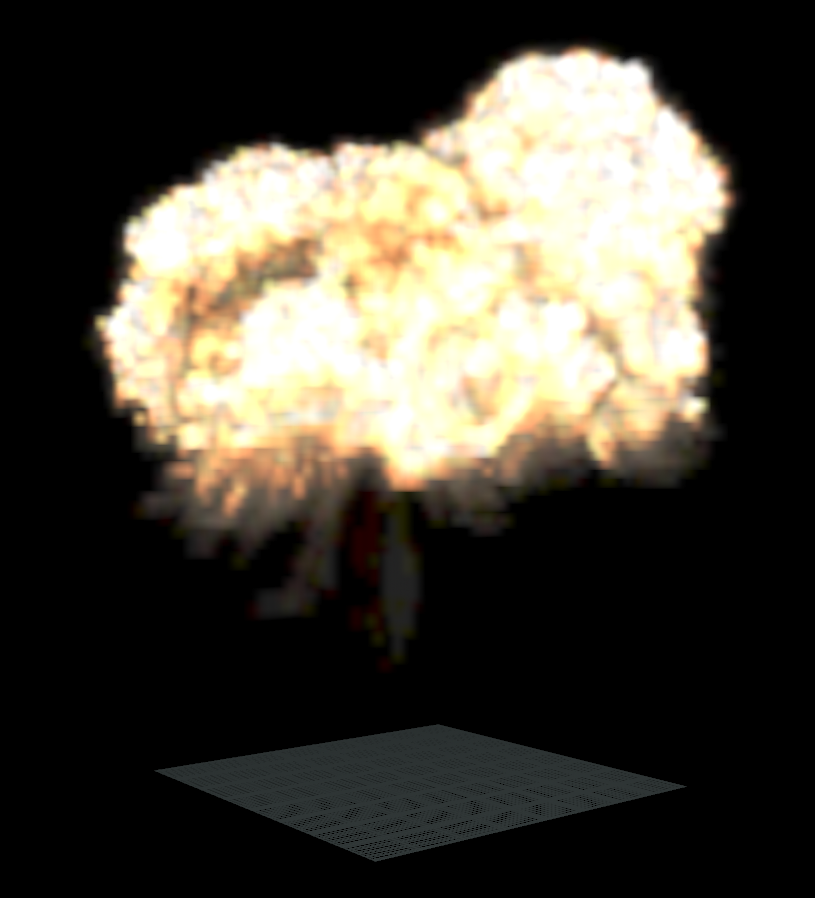
Next, we want to see more expansion on the smokes as they emit, so let's go under the sourcing tab and crank up the divergence to say 100.
NOTE: Divergence is the ability of the pyro volume to expand. This attribute is useful in creating a believable explosion.
EXPLOSION TRAILS
Now, let's add some trails to the explosion to make it more interesting.
To begin with, we will add a 'pyro trail path' and a 'pyro trail source' nodes, and use a merge node to combine them with the pyro burst source node as shown below:

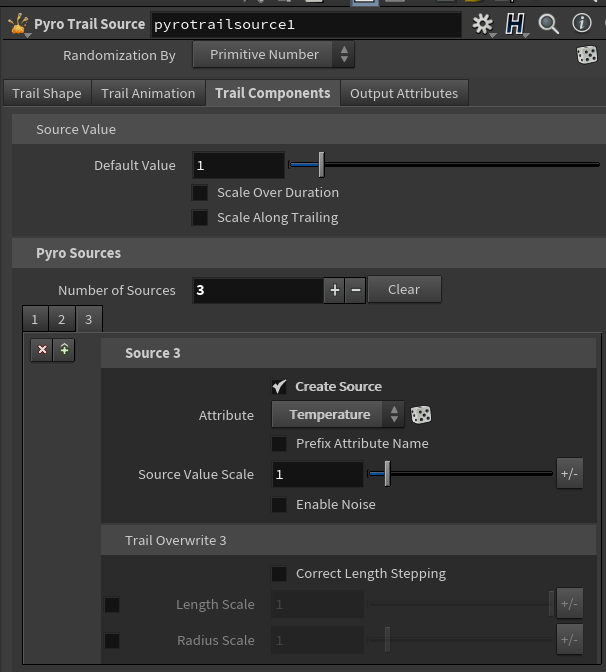
If we select the pyro trail source node and navigate to the 'trail components' tab, let us add a temperature source and a burn source.
If we isolate the trails and play the simulation, we will see that the trails have been generated:
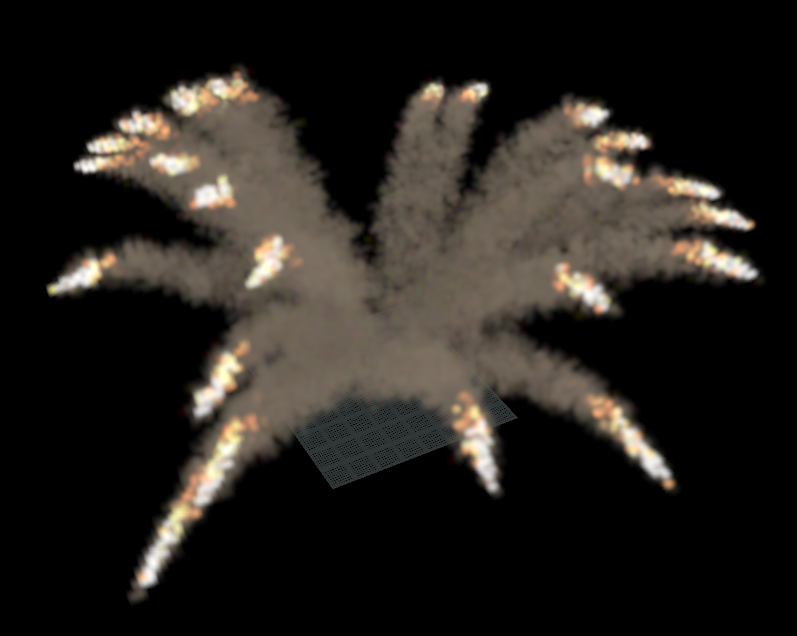
We can improve how these trails look and behave as well as their amount on the pyro trails path node.

Let us do the following settings (NB: these settings are subjective depending on what you want to achieve, but for our case here, we will use these settings):
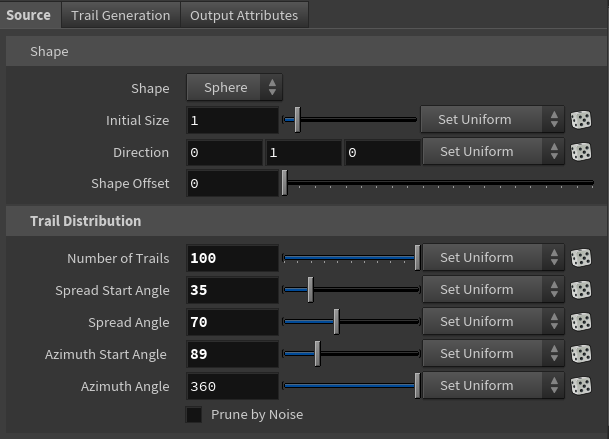
1. In the 'Source' tab;
- Increase the number of trails to 100;
- Increase spread start angle to 35;
- Set the spread angle to 70;
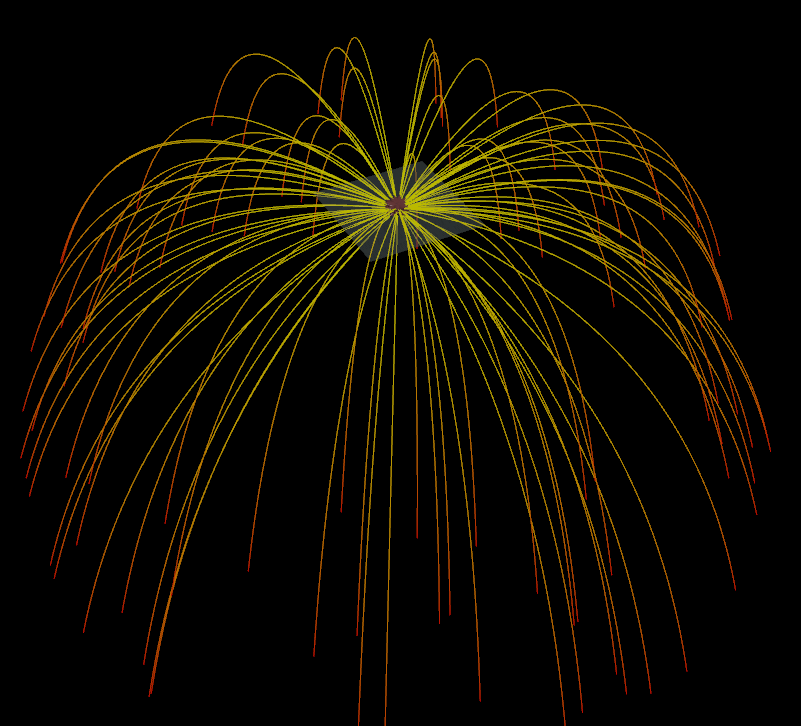

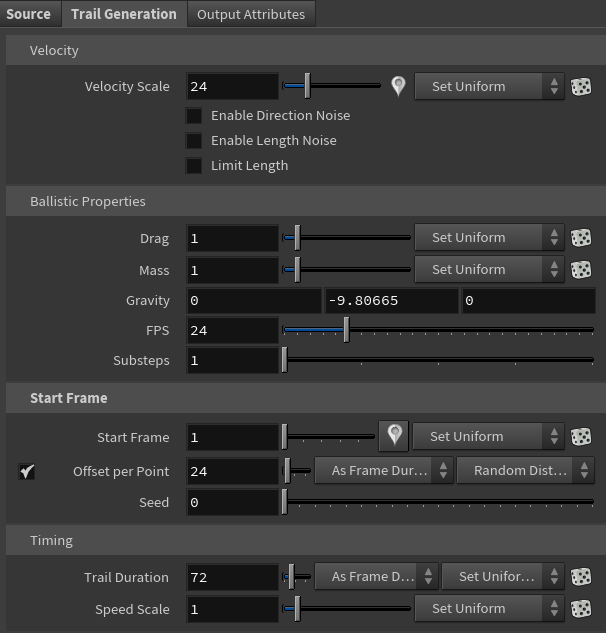
2. In the 'Trail Generation' tab:
Currently, the trails emit uniformly and at the same time. We can actually offset this behaviour by enabling 'offset per point' under the 'start frame' tab, and we can set the offset frames or use the seed.
We can also determine how long the trails last by increasing or decreasing the 'trial duration'.
Take the time to fine tune all these parameters settings until you achieve the desired results.
Take the time to fine tune all these parameters settings until you achieve the desired results.

EXPLOSION SHOCKWAVES
Now let's generate a ground shockwave for our explosion.
Just like we did earlier, let's create a new set of pyro trail path and pyro trail source nodes:

On the pyro trail path node, let us first set the gravity under trail generation to zero to straighten the paths. Let's also enable 'offset per point'.
Next, let us set spread angle to 0 and spread start angle to 90 to flatten everything.
Next, we will crank up the number of trails to 1000.


On the pyro trail source, let's first add the temperature attribute.
Then let's enable 'scale along trailing'.

We should be getting a pretty nice result already:
COMBINING ALL THREE COMPONENTS
Now let us combine the three explosion components that we have created so far using the merge node.
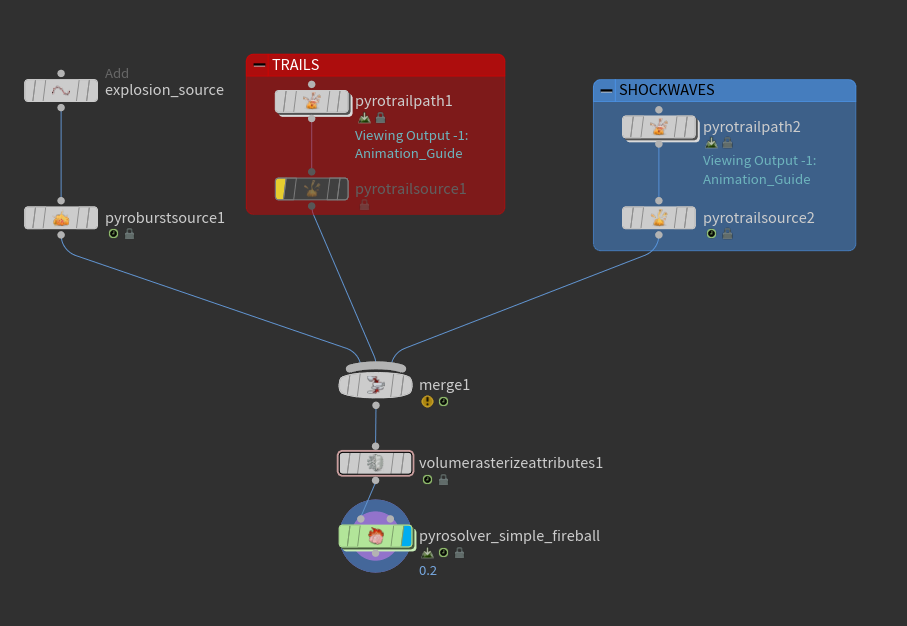
We get the result below:
We can connect a pyro bake volume node to fine tune the look of the explosion. Note however that this is just for mere look development, it will not affect our final explosion effects.

CREATING MULTIPLE (OR CHAIN) EXPLOSIONS
In the previous section, we looked at how to create a single explosion effect. In this section, we will create multiple explosion effects in a sort of chain reactions.
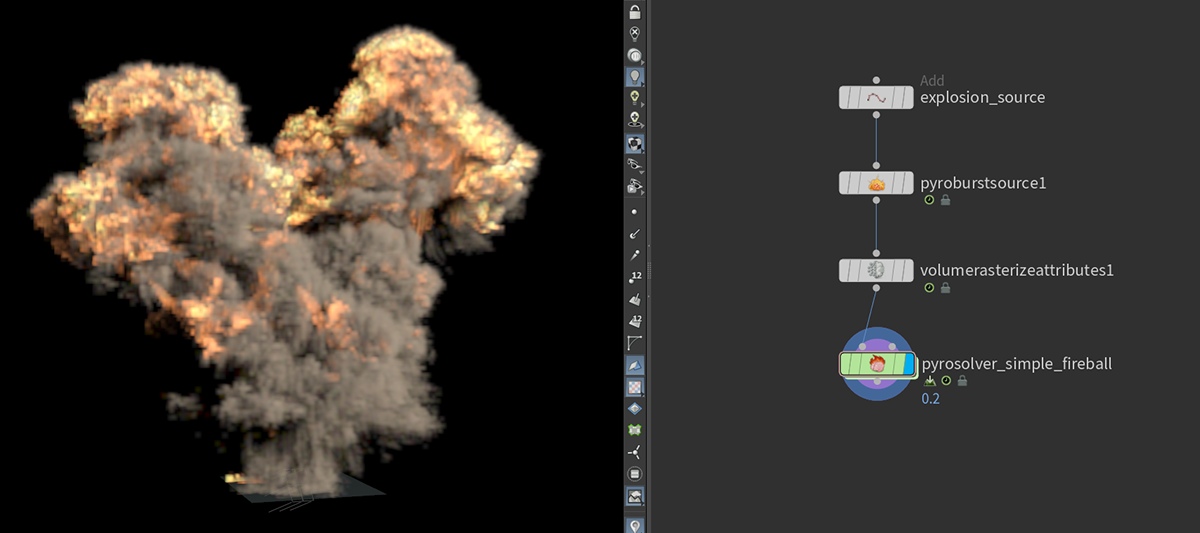
Let us start by creating a single explosion like we did above. So we have the explosion setup like below:
Earlier, we used a single point as the source of our explosion on the 'add' node. So we are going to take advantage of this to create multiple explosions. Reason why this will work is because we can actually translate the point(s) around.
Let us quickly perform the following settings on the pyro burst source node:
- In the burst shape, let's reduce the spread angle to about 70;
- In the burst components, let's enable 'scale over duration' and 'scale along trailing';
- In the output, let's enable 'add velocity noise' and adjust the settings there to your taste;
On the pyro solver node, let's perform the following settings:
- Decrease flame lifespan to 2.5;
- Enable 'emit from flame' under the density field and set it to 10;
- Enable 'remap flame range' and tweak the graph as shown below;
- Set disturbance to 25;
- Set turbulence to 0.5;
Feel free to play around with all these settings like we've discussed before to get different results.

Let us also quickly setup the pyro trail by creating a pyro trail node, which will automatically setup the path and source like we did before.

Let's do the following settings on the trails:
- Increase the drag a bit to about 3;
- Lower the mass a bit to about 0.3;
- Lower trail duration to 24;
- Lower the radius of the trail source to 0.05;
- Lower the length to 0.8;
- Turn on scale over duration and scale along trailing;
- Get rid of density component and add burn and temperature;
We can reduce the thickness of the trails by lowering 'particle scale' under the VRA node, and reducing 'minimum filter size' as well.


We have a basic explosion that works.
Now, let us set up the multiple explosions.
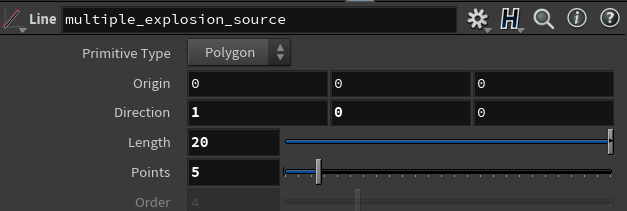
There are several ways we can approach this, whether via gradient scatter points node or lines node etc. Let's use a line in this example. Connect it like so:
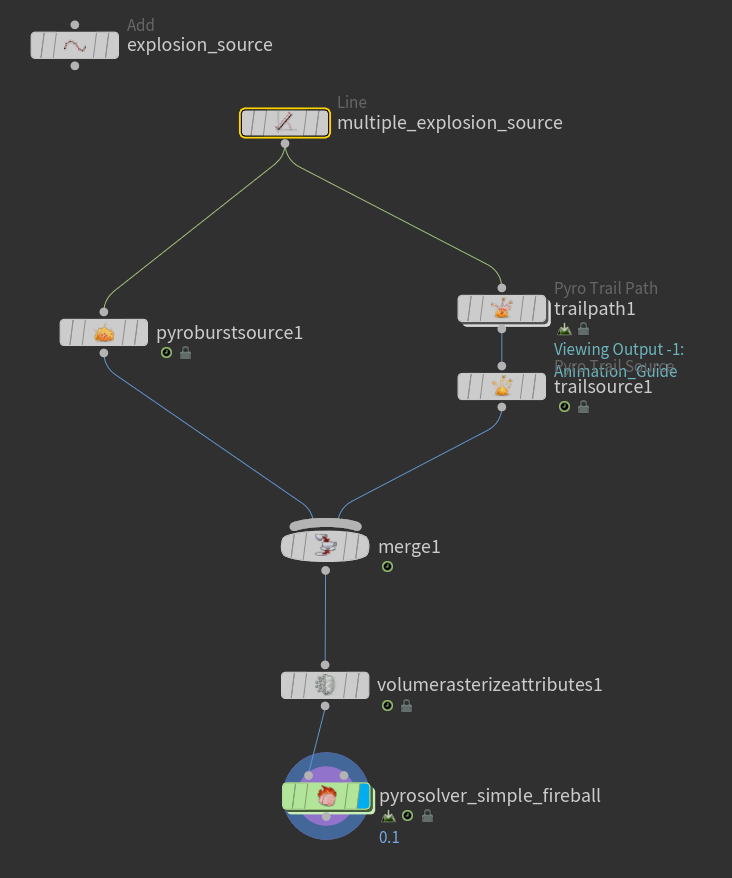
Let's point the line along the direction where we want the explosion to grow along (x axis), and increase it's length to 10 and number of points to 5. We will notice that the number of points is the number of chains we want the explosion to have, and the length is the distance along the selected direction we want the chain explosions to propagate.

If we play the simulation, we will see that they all actually start at the same time.
If we go under the Burst Animation tab of the pyro burst source (and also the Trail Generation tab of the pyro trail path), we will see a drop down next to start frame with 'set uniform'. If we change this to 'set varying' for example, we will get a different result.


If we set the variation to same values (say 6) on both pyro burst and trail nodes, we will get some gaps between each explosions.
If we want the explosions to happen sequentially one after the other, we are going to set the dropdown (on both pyro burst and pyro trail nodes) to 'use attribute'.
If we click on the dice icon that is next to the dropdown, it will automatically create an attribute adjust float node for us with the attribute name set to "startframe".


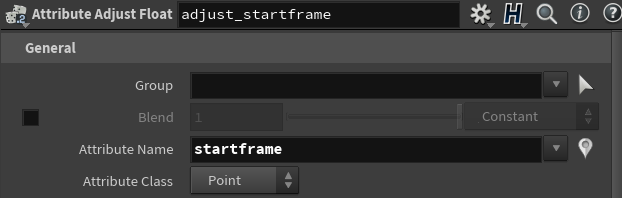
So now we know the attribute name we need which is "startframe". So let's copy this name, delete the attribute adjust node, and instead create an 'attribute wrangle' node.
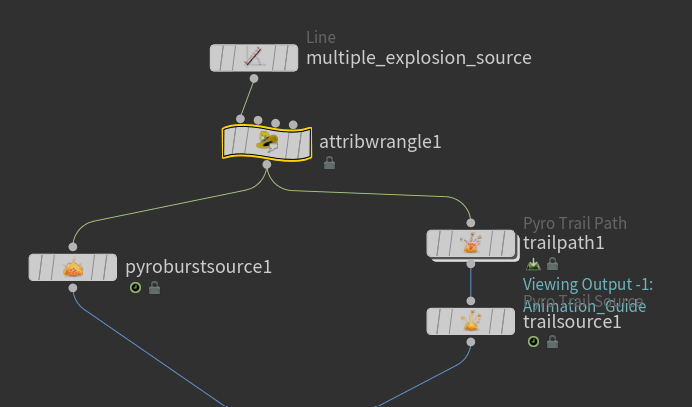
In the attribute wrangle VEXpression, let's type:
f@startframe = @ptnum;

So this assigns point numbers (from the line node) to the start frame, and the explosions will be generated based on the point numbers (that is, sequentially). Thus if we play the simulation, the explosions will happen sequentially.
However, it's currently too fast. So let's multiply the VEXpression by an integer, say 4, to space out the timing more:
f@startframe = @ptnum*4;

Now we get a proper gap between each explosions.
If we want to randomize the sizes of the explosions, say we want to start with smaller explosions, then as it propagates, it becomes bigger over time, we can also do that via the 'initial size' parameter on both pyro burst and trail path nodes.


We can also change the initial size on both nodes to 'use attribute' instead of the 'set uniform' as well. And just like above, the attribute we need to create is called 'pscale';
Let's select the line and resample it with a resample node; turn off 'maximum segment length', and turn on 'curve U' instead.

On the attribute wrangle node, let's type the VEXpression:
@pscale = chramp("size", @curveu);

Click the '+' icon to create the color ramp attribute; When we play the explosion, we will see that their sizes actually grow bigger based on the color ramp
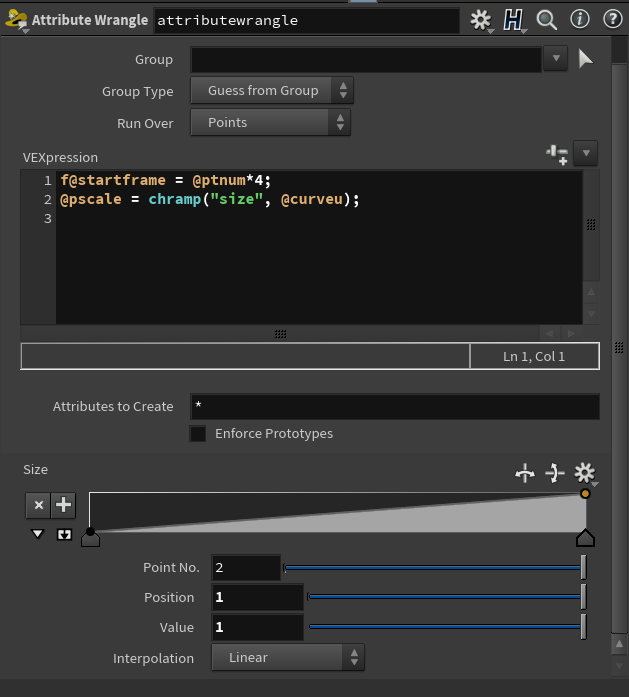
So now, we can reshape the color ramp to determine how the sizes of the explosions grow overtime.
If we set the start point to say 0.5, and the end point to say 2, we will see the result;
If we set the start point to say 0.5, and the end point to say 2, we will see the result;

If we reshape it like below, we will get a different result as well. So as usual, feel free to play around with these settings.

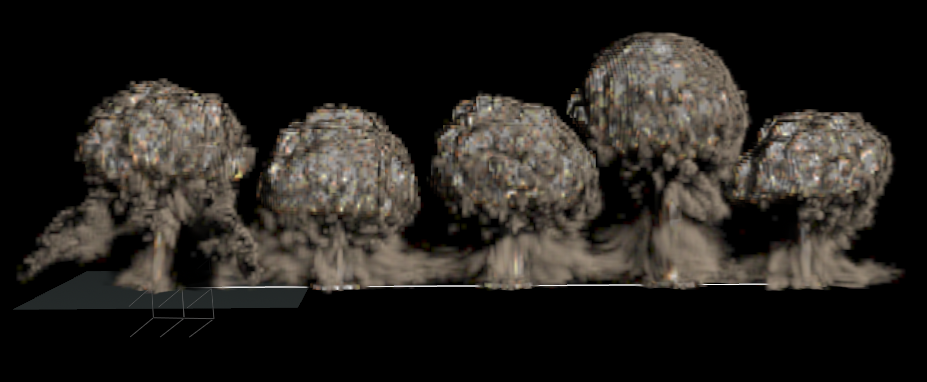
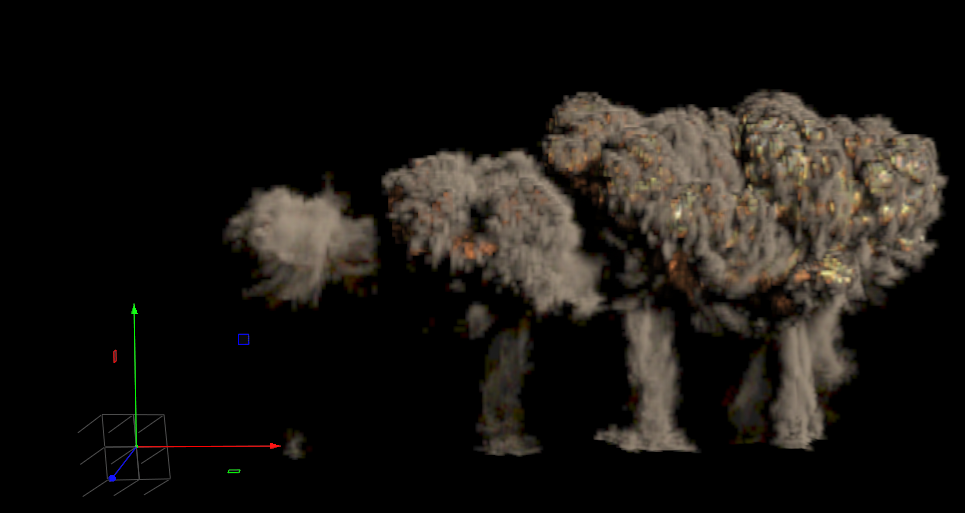
Now we have a chain explosion that works!
The possibilities of what we can create in Houdini is endless. We just need to really go in and play around with different settings and parameters to get different types of results.
The possibilities of what we can create in Houdini is endless. We just need to really go in and play around with different settings and parameters to get different types of results.
Below is a playblast of the chain explosion in Houdini:
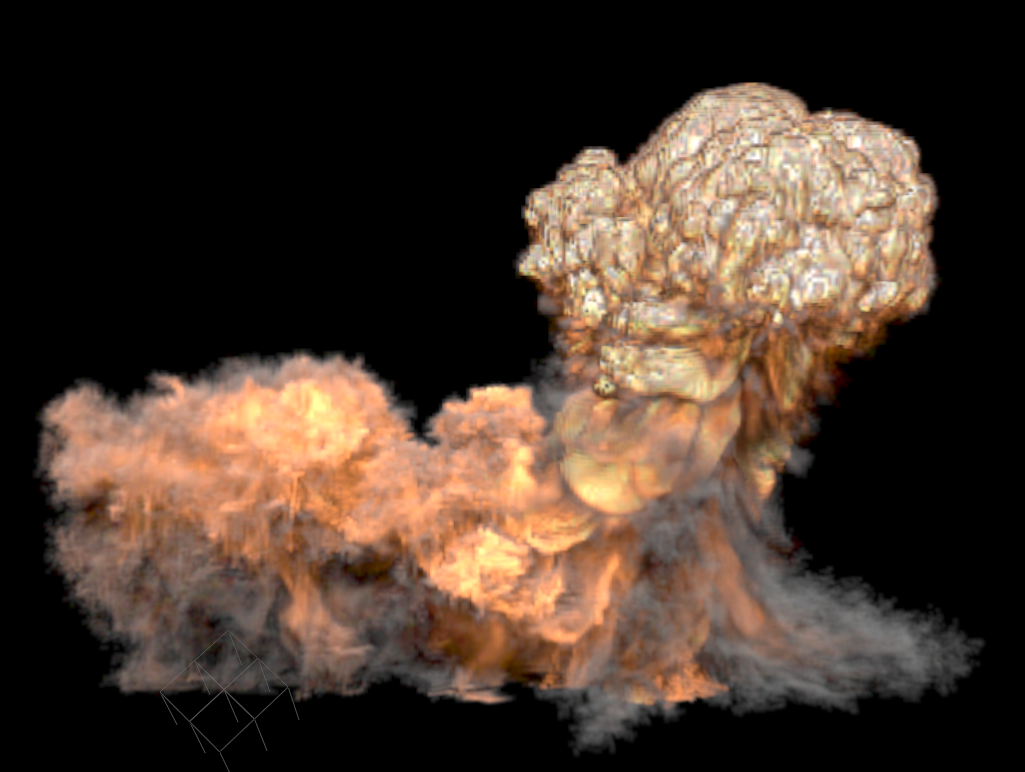
Like we have learnt before, we can also cache out these simulations and export them as vdb files to render in a third-party software.
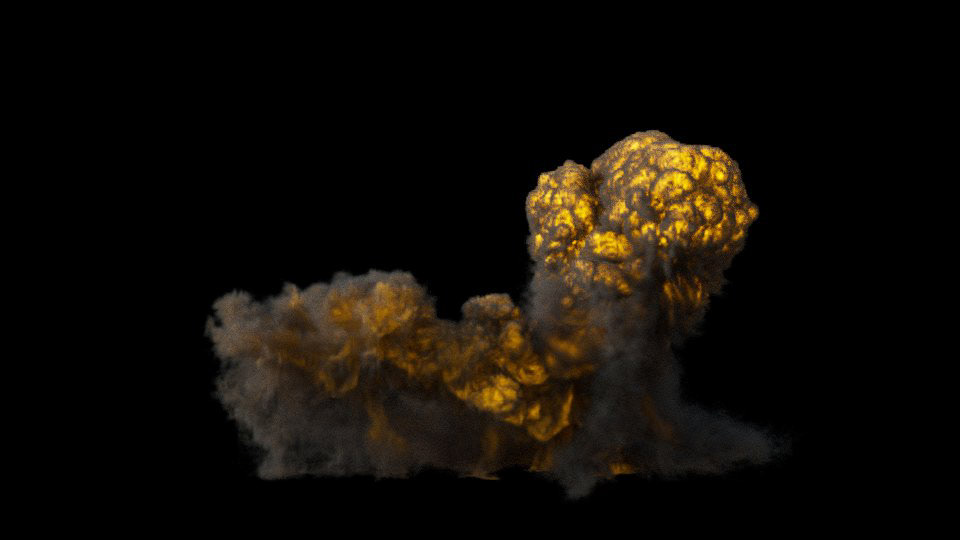
Below are the viewport and render previews of the explosions in Maya: